Overview
Teaching: 10 min
Exercises: 0 minQuestions
How can we create a new Git repository
Objectives
Create a local Git repository.
Once Git is configured, we can start using it. We are going to be looking at everything through the lens of GitHub, which is a highly popular online repository host that makes creating and managing repositories very easy. Be aware that everything we do on the website is also available from the command line, but we are going to gloss over most of those details during the workshop.
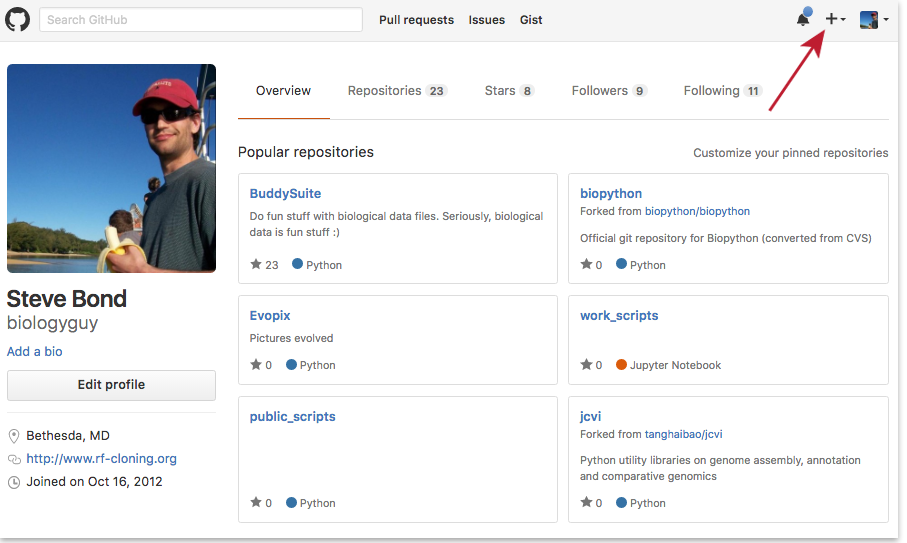
Open your web browser to GitHub and log in (or create an account if necessary)
From your main dashboard, click on the little ‘+’ drop-down menu and select ‘New repository’
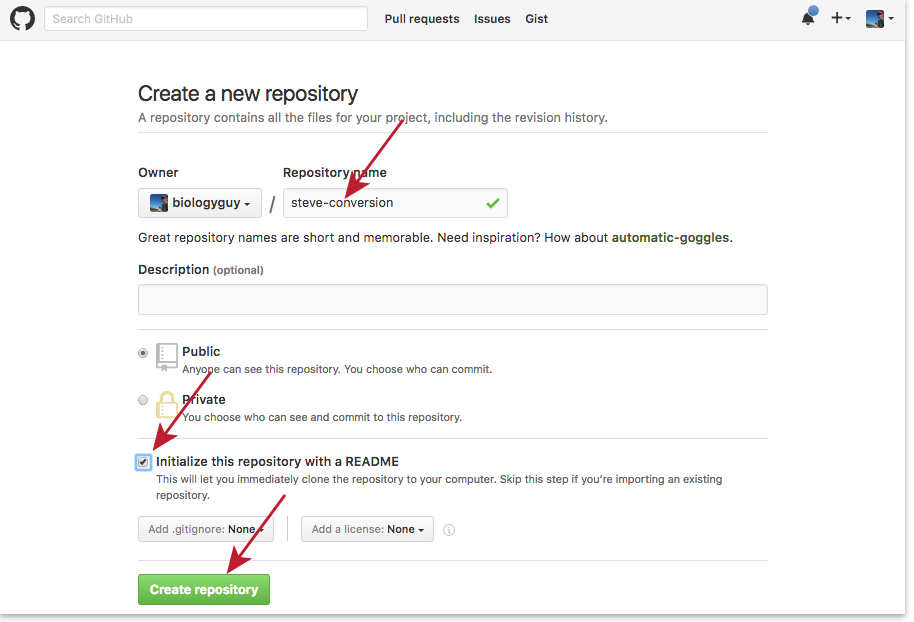
Name your repository “[your name]-conversion” (replacing [your name] with your actual name), select “Public”, check “Initialize this repository with a README”, and click “Create Repository”
Once the new repository is created, you will need to copy the URL displayed when you click on the ‘Clone or download’ button:
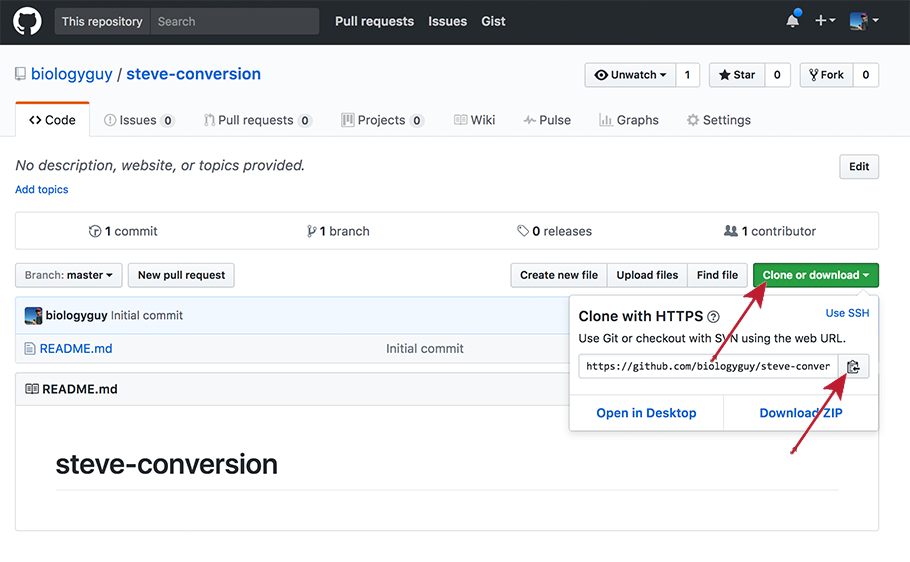
Copy the URL provided and clone the repository onto your computer by running the following command (make sure to replace the url!):
$ git clone https://your_repository's_url
$ cd your_repository
$ ls -a
We should see a pristine Git repository with a README file:
. .. .git README
Git stores information about the project in the special .git sub-directory. If we ever delete it, we will lose the project’s history.
We can check that everything is set up correctly by asking Git to tell us the status of our project:
$ git status
# On branch master
#
# Initial commit
#
nothing to commit (create/copy files and use "git add" to track)
Key Points
GitHub makes creating a new repository very easy.